
Last updated October 31, 2026
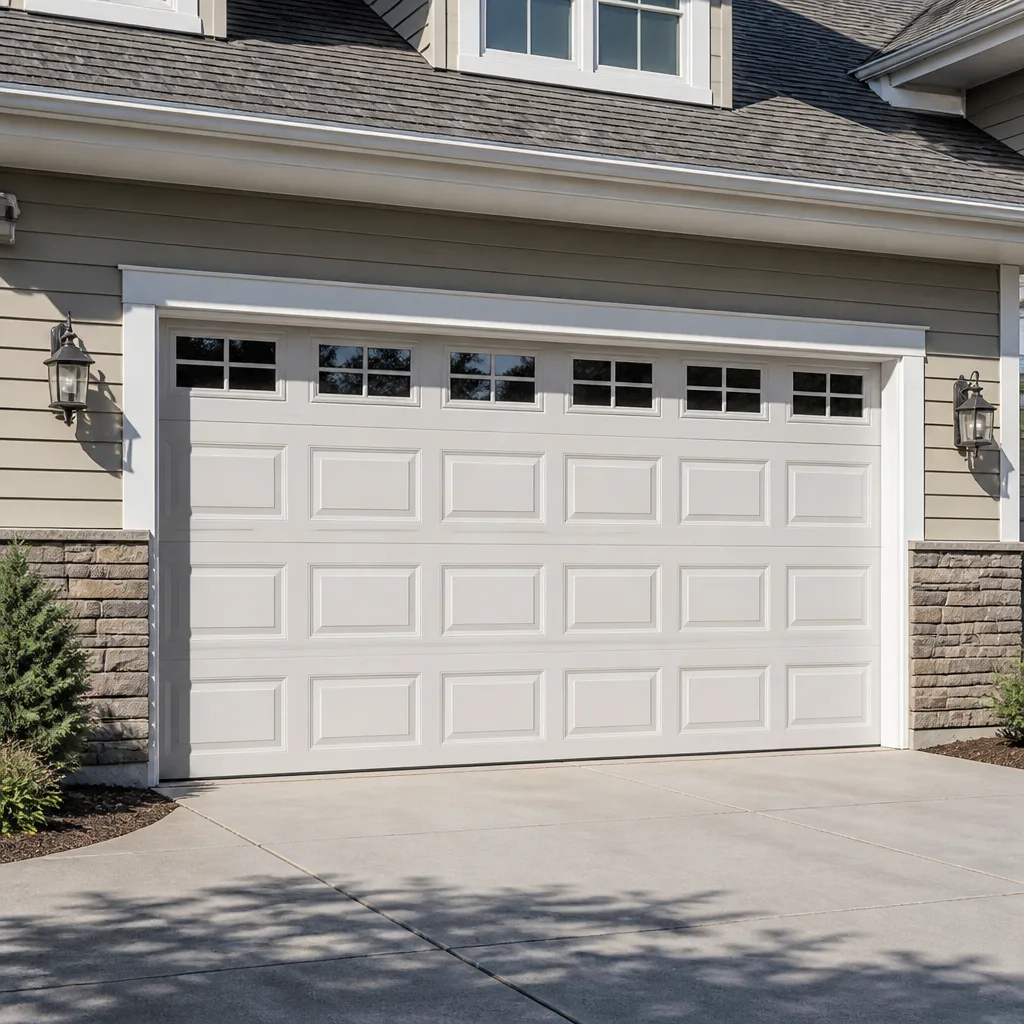 Raised-panel steel
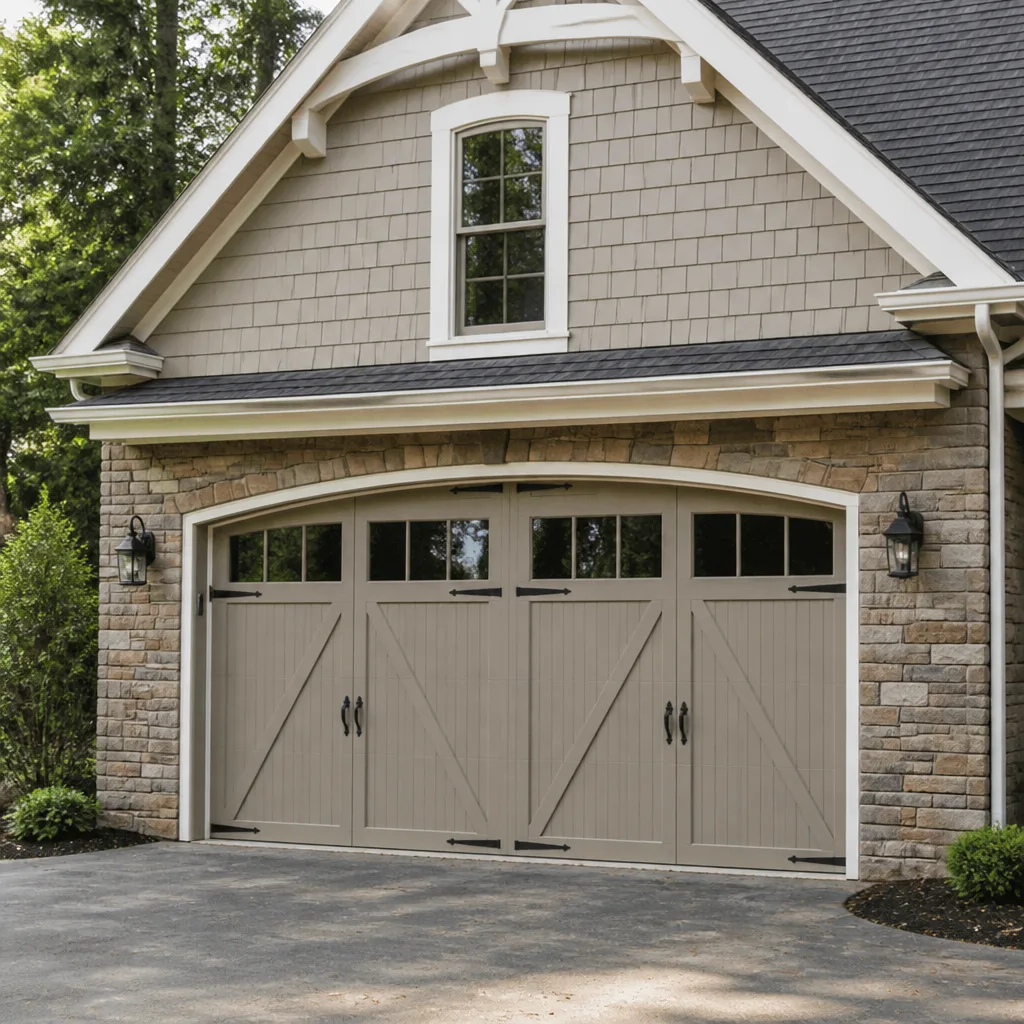 Carriage house
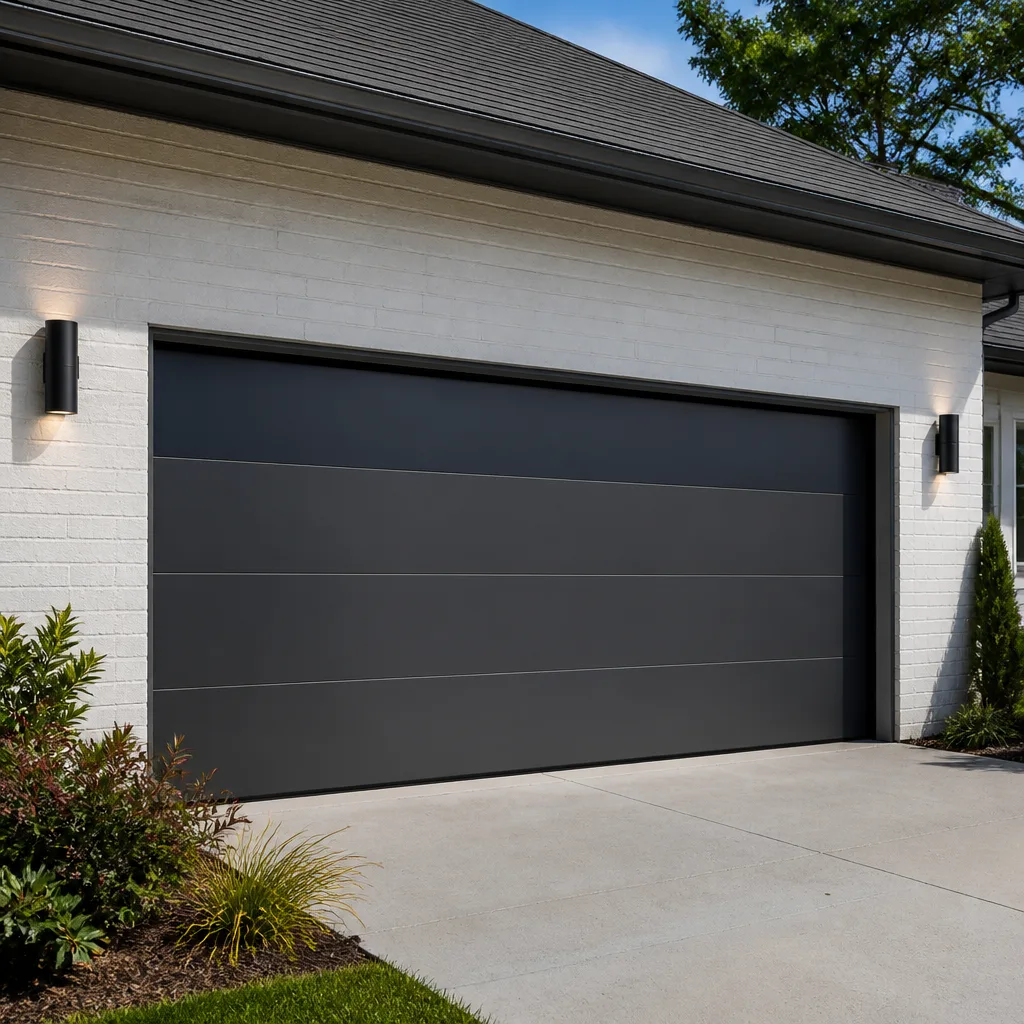 Modern flush
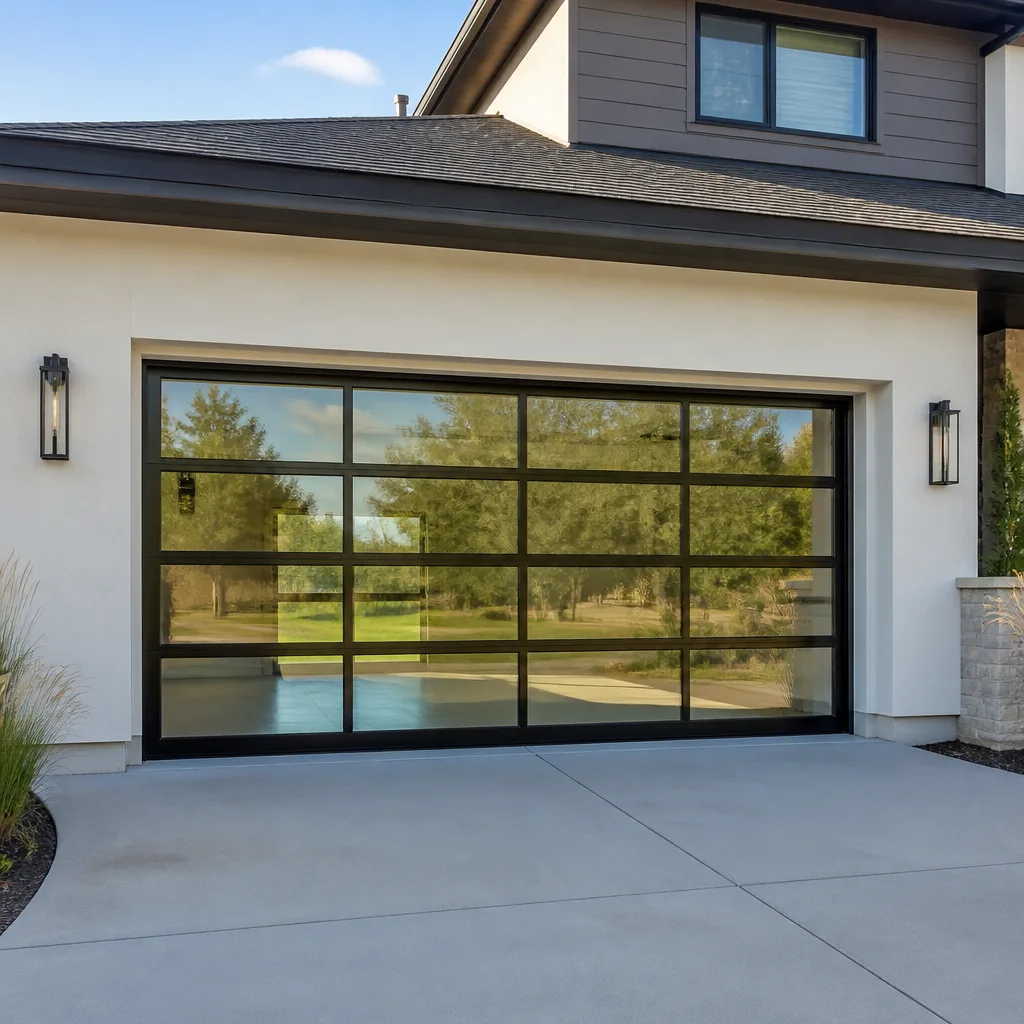 Full-view glass
 LiftMaster openers
 Chamberlain openers
Full 25-point door and opener safety check with every visit - springs, cables, rollers, tracks, and your LiftMaster or Chamberlain opener included
You get a price before we start. It does not change when the truck arrives.
Get your free estimateDIY vs Professional Garage Door: The Torrance Homeowner’s Decision Guide
YouTube hosts roughly 40,000 videos on DIY garage door spring replacement. The comment sections on those videos tell a story the view counts don’t: replies from people who ended up in urgent care doing exactly what the video showed. That’s the uncomfortable truth about garage door repair in Torrance. Some tasks are genuinely safe for a careful homeowner with the right tools. Others carry stored energy loads that make a miscalculation catastrophic in a fraction of a second. This guide explains the difference, task by task, so you can decide with your eyes open rather than after watching a 12-minute tutorial.
Styles & brands we work with
Quick Answer
Most garage door maintenance tasks, like lubricating rollers or tightening loose hardware, are safe DIY jobs. Torsion spring replacement is not, and neither is working on a door with the cables under tension. For those jobs in Torrance, the cost gap between DIY and professional work is smaller than most homeowners assume—our Garage Door Cost Breakdown: The Torrance Homeowner’s Reference for 2026 explains why once you factor in the right tools, the risk of a second trip for the wrong part, and the possibility of a serious injury.
Table of Contents
- Understanding the Risk Spectrum
- Torsion Springs: The Physics Problem
- The DIY-Safe List
- The Never-DIY List
- Brand-Specific DIY Limits
- The Cost-Benefit Reality Check
- The Partial DIY Approach
- Torrance-Specific Considerations
- Common Mistakes to Avoid
- When to Call a Professional
- Frequently Asked Questions
- The Bottom Line
Understanding the Risk Spectrum
Garage door work does not split neatly into “DIY” and “professional” categories. It splits into three tiers, and the boundaries surprise people who haven’t spent time inside a garage door system. The first tier is genuinely safe for any homeowner: lubrication, visual inspection, tightening visible bolts, testing safety sensors, painting the door. The second tier is DIY-possible but carries real mechanical risk or warranty implications: roller replacement on certain track configurations, opener programming, replacing weatherstripping, adjusting limit switches. The third tier is categorically professional work: torsion spring replacement, cable replacement under tension, track realignment, and any repair that requires releasing the spring system. In our experience across Torrance, most injuries we hear about happen when someone attempts a third-tier job after succeeding at a second-tier one. Competence on one does not transfer to the other.
The reason is simple: the energy stored in a wound torsion spring does not care how handy you are. A Genie opener repair on the logic board is a different animal entirely from a Clopay door that’s been carried by a broken spring. One is an electronics problem. The other is a mechanical hazard waiting for a trigger.
Torsion Springs: The Physics Problem
A standard residential torsion spring on a two-car garage door in Torrance stores between 100 and 250 foot-pounds of torque when wound. That’s not a typo. The spring carries enough stored energy to lift a 300-pound door hundreds of times, and when it releases that energy suddenly, through a winding bar that slips or a cone that lets go, the result is broken fingers, lacerated forearms, facial fractures. The spring’s job is to counterbalance the door’s weight. If you remove the spring without first unwinding it properly, the door becomes dead weight with no counterbalance. If you release the winding bars mid-wind, the bars become projectiles.
Here’s the number that matters for the DIY evaluation: a single torsion spring on a typical Torrance two-car garage door cycles through roughly 10,000 lifts before failure. That’s about 7 to 9 years of daily use. When it fails, it doesn’t sag. It snaps, usually while the door is closed, with a sound like a gunshot. The replacement requires winding the new spring to the exact number of quarter-turns specified for the door’s weight and height. Too few turns and the door is heavy. Too many and the door rockets open. One full turn on a standard residential spring represents a few hundred pounds of additional lift force. The margin for error is measured in quarter-turn increments.
This is why, when someone asks us about YouTube tutorials for spring replacement, we don’t say “don’t do it.” We say “understand what you’re signing up for.” The people who get hurt aren’t incompetent. They’re competent people who underestimated the energy involved.
The DIY-Safe List
Plenty of garage door maintenance work in Torrance is genuinely appropriate for a careful homeowner. These tasks require basic tools, zero spring interaction, and no risk of stored energy release. If you’re comfortable changing your car’s oil or replacing a light fixture, you can handle all of these:
- Lubricating rollers, hinges, and tracks. Use a silicone-based or lithium-based spray on metal rollers and hinges. Avoid WD-40 for this job, it’s a solvent, not a long-term lubricant. Clean the track with a rag, but do not grease the track itself. The rollers ride in it; grease attracts dust and turns into a sticky paste.
- Tightening visible hardware. Garage doors cycle thousands of times a year, and vibration loosens bolts over time. Walk the track with a socket wrench and snug up anything loose. Do not overtighten. Do not touch any bolt connected to the spring assembly.
- Testing and cleaning safety sensors. The photo-eye sensors near the floor on either side of the door need a clear line of sight. Dust, spider webs, or a shifted bracket can make the door reverse for no reason. Clean the lenses with a soft cloth and verify alignment.
- Replacing weatherstripping. Bottom seal replacement on a LiftMaster-installed door or a Chamberlain system is straightforward: pull the old seal out of its track, slide the new one in, cut to length. Side and top weatherstripping takes a bit more patience but is still firmly in DIY territory.
- Painting the door. Steel doors take exterior latex paint well after light sanding and priming. This is an afternoon project that extends the life of your door and improves the look of your Torrance home, no professional needed.
- Checking balance manually. Pull the release cord while the door is closed, then lift the door halfway by hand. If it stays roughly in place, the springs are doing their job. If it falls or rises, note that and call someone. This is a diagnostic step, not a repair, and it’s safe because you’re not touching anything under tension.
These are the tasks we tell Torrance homeowners to do themselves with confidence. They extend the life of the system and they cost almost nothing. The key distinction: none of these tasks require removing a spring, releasing cable tension, or working near a pinch point while the door is under load.
The Never-DIY List
Some garage door jobs are not DIY-safe under any circumstances, and the reasons are mechanical rather than skill-related. The danger exists before you touch anything, and a mistake happens faster than your reaction time. Here’s what to leave to a professional, every time:
- Torsion spring replacement or adjustment. Already covered above, but it bears repeating: this is the single most dangerous task in residential home maintenance, and it’s not close. The spring is under full tension even when the door is closed. One slipped winding bar and you’re in an emergency room.
- Extension spring work. Extension springs, the older style that runs parallel to the tracks, look less intimidating than torsion springs. That’s exactly what makes them dangerous. They require a safety cable running through the center, and when an extension spring fails without one, it becomes a missile. Replacing them means working under tension with a door that weighs hundreds of pounds.
- Cable replacement or adjustment. The lift cables wrap around drums at the top of the door and carry the door’s full weight during operation. If a cable snaps while you’re working on it, the loose cable can whip through the air. Replacing a cable requires de-tensioning the spring system first, which means cable work is inseparable from spring work.
- Track realignment or replacement. The vertical and horizontal tracks are not just guides. They’re structural components that keep a heavy moving object on a predictable path. A misaligned track can cause the door to bind mid-cycle, and the forces involved can bend metal and break fingers. Realigning tracks often requires adjusting the spring tension to compensate for the door’s position.
- Bottom panel replacement. This is a surprise to most homeowners. Replacing a dented or damaged bottom panel means releasing spring tension, supporting the door, removing all lower panels, and reinstalling them in reverse. The bottom bracket that holds the lift cable is under full spring tension. This is a multi-hour professional job, not a panel swap.
- Opener replacement involving new wiring. Replacing the motor unit itself is sometimes DIY-adaptive, but any job that involves running new low-voltage wiring, replacing the logic board, or reconfiguring the safety sensor circuit is professional work. A miswired opener can reverse at the wrong time, creating a crush hazard, or fail to reverse at all.
Our on-site work across Torrance reinforces this list daily. We’ve seen what happens when a well-intentioned homeowner starts a cable job and realizes halfway through that the spring has to come off first. By then the door is hanging crooked and the situation is more dangerous than when it started.
Brand-Specific DIY Limits
Not every limit is mechanical. Some of the biggest DIY traps live in the electronics. Modern Chamberlain and LiftMaster openers run on proprietary software that does not show up on a standard multimeter. A homeowner watching a YouTube tutorial on “how to reprogram a Chamberlain opener” is often looking at a video for a unit that’s ten years older than the one in their garage, because Chamberlain iterates software constantly. The same applies to Genie’s newer models. The wall console, the safety sensors, and the motor unit all speak to each other on a digital protocol. If the console error code says “misaligned sensors” and you’ve already cleaned and aligned them, the actual problem might be a logic board issue that requires a diagnostic tool only dealers carry.
Here are the specific situations where DIY hits a wall on major brands:
- Chamberlain and LiftMaster Security+ 2.0 protocol. These openers use rolling code technology that requires a learn-button sequence and, on newer units, a MyQ setup for smart-home integration. If the programming sequence fails, there’s no manual override. A professional with dealer access can reset the unit. A homeowner cannot.
- Raynor and Genie force profile reprogramming. After a spring replacement or major door adjustment, the opener’s force profile must be recalibrated. This is a dealer-level function on many models. A door that doesn’t shut fully, or reverses at the wrong point, is often a force-profile issue, and it’s not something you can fix with the standard wall controls.
- Warranty voiding on certain opener brands. Some manufacturer warranties specify that motor unit service must be performed by a dealer. The fine print matters. If your LiftMaster or Chamberlain opener is under warranty and you open the motor housing, you may void that coverage. We see this frequently in Torrance, where homeowners with a 3-year-old opener try to fix a gear issue themselves and discover too late that the warranty would have covered the part.
The mechanical door brands, Clopay, Amarr, Wayne Dalton, and Raynor panels, are more forgiving for surface-level work like painting or hardware tightening. But the moment you’re dealing with spring systems or cable drums behind those brands, the same physics applies.
The Cost-Benefit Reality Check
Homeowners assume DIY saves significant money. For garage door spring work, that assumption usually falls apart when you run honest numbers. Let’s walk through a typical torsion spring replacement for a 16×7 Clopay door on a Torrance home.
DIY costs:
- Spring set: $80 to $140 depending on door weight and spring cycle rating. A premium spring set rated for 20,000+ cycles runs higher than a standard 10,000-cycle set.
- Winding bars: $25 to $50 for proper 18-inch half-inch rods. Using screwdrivers or random steel rods is how people get hurt, so we’ll assume the correct tool.
- Total direct parts cost: $105 to $190.
Professional cost in Torrance:
- Spring replacement service: Typically $280 to $450 including parts and labor, depending on spring quality and door configuration.
The gap looks meaningful until you factor in what the DIY number doesn’t include. If you order the wrong spring for your door weight, which is common, you either install it and the door never balances correctly, or you return it, eat shipping and restocking, and order again. If a winding bar slips during installation, the medical bill is measured in thousands, not hundreds, and that’s before considering lost work days. If you install the spring but calibrate the opener’s force profile incorrectly, you’ll need a service call to diagnose why the door reversed mid-climb, and that call might cost as much as the labor portion of the original repair would have.
Here’s the realistic comparison: a proper DIY spring job succeeds roughly one time in three for a first-timer, based on what we observe in service calls after failed attempts. When it succeeds, you’ve saved $150 to $250. When it fails mildly, you’ve spent your parts money plus a professional visit. When it fails catastrophically, you’ve spent thousands and possibly a trip to urgent care. That’s the bet you’re making.
By contrast, every professional spring job we do in Torrance begins the same way: a written quote before any work starts, a price that doesn’t change after we arrive, and a spring set rated for the door’s actual weight and cycle history. The right part on the truck, the right fix in one visit.
The Partial DIY Approach
There’s a middle path that most homeowners never consider. You don’t have to choose between doing everything yourself and calling someone to handle the entire job. A partial DIY approach means you handle the prep work and documentation, and the professional handles the dangerous mechanical work. This reduces billable labor time, which reduces your total cost, and it arms the technician with better information before they arrive. But the dangerous work stays in professional hands. This can be a smart move for homeowners who want involvement without risk. There’s a difference between handing over a problem and participating in solving it.
Here’s how to do it well in Torrance:
- Document the system. Before you call anyone, photograph the entire door system: the spring configuration, the opener brand and model number, the door manufacturer stamp, the cable drums, the track layout. Clear photos let a professional identify the exact replacement parts needed before the first visit. This eliminates the “we’ll have to order it” delay.
- Run the balance test. Pull the release cord and lift the door halfway, as described in the DIY-safe section, to check whether the springs are holding tension. Note whether the door drifts or stays.
- Observe and record the failure mode. If the door makes a specific noise, reverses at a certain point, or is stuck halfway, video it with your phone. A 10-second clip of the door behaving badly is more diagnostic than a 5-minute phone description.
- Clean and clear the work area. Move vehicles out of the garage, clear boxes from under the opener, and sweep the floor. A clear workspace reduces labor time and gives the technician full access.
- Prepare questions in advance. Ask about spring cycle ratings, warranty terms, and whether the opener’s force profile will need recalibration after the mechanical work. A prepared homeowner gets better answers and makes better decisions.
This approach works for any repair category. For opener issues, documenting the wall console error code and testing the safety sensors yourself can rule out the simplest causes before a professional even dispatches. For installation planning, measuring the door opening and photographing the existing hardware helps a professional quote the job accurately over the phone.
Torrance-Specific Considerations
Torrance has specific conditions that shape garage door maintenance in ways that don’t apply in other cities. The marine layer that rolls in from the Pacific carries salt moisture through much of the year, and that moisture settles on metal components: springs, cables, hinges, track hardware. Over years, coastal corrosion accelerates wear on parts that might last a decade in a dry climate like Riverside. A torsion spring in Torrance near the coast often fails a year or two earlier than the same spring in the San Fernando Valley. Which means Torrance homeowners should be more aggressive about lubrication schedules and annual hardware inspections, not less.
There’s also the matter of Garage Door Emergency Preparedness Guide for Torrance Homes and earthquake preparedness. A garage door that binds during or after a seismic event is a safety problem and an access problem simultaneously. After a significant quake, checking the track alignment and roller condition before resuming normal use is a standard practice here. A door that’s been jostled off its track by earth movement will strain the cable system and spring assembly every time it cycles, converting a minor alignment issue into a major mechanical failure. Torrance sits in a seismically active region, and the garage door is the largest moving object in most homes here.
Housing stock adds another variable. Torrance has a mix of 1950s and 1960s tract homes, newer developments in areas like South Torrance and Walteria, and larger custom builds in the Hollywood Riviera. The older homes often have extension spring systems that predate modern safety cable requirements, while newer builds generally have torsion systems paired with smart openers. A DIY approach that works on a 2015 Chamberlain opener in a newer Torrance home may not apply to a 1998 Genie system in an older one. Knowing your specific hardware—and whether your project needs Garage Door Permits, Codes & Inspections in CA: What You Need to Know—matters more than watching the right general tutorial.
For homeowners outside the immediate Torrance area, we also serve nearby cities including Santa Fe Springs, where the climate is warmer and drier but the housing stock has its own quirks. You can read more on our Garage Door Repair in Santa Fe Springs page if you or someone you know is in that area.
Common Mistakes to Avoid
- Using the wrong lubricant. WD-40 is not a lubricant for garage doors. It’s a water displacement product that dries out and leaves metal vulnerable. Use white lithium grease or silicone spray on moving parts, and never grease the track itself.
- Testing a spring repair by opening and closing the door from inside. The standard safety advice is to test from the wall control, not the remote, so you’re not in the door’s path. But if you’ve replaced a spring and haven’t verified the balance, the door could behave unpredictably on its first cycle. A professional tests the system with a full understanding of where the failure points are.
- Assuming the opener is broken when the door is the problem. This is the most common misdiagnosis we see in Torrance. The opener motor is trying to lift a door that the springs are no longer counterbalancing. Replacing the opener doesn’t fix the spring. It just burns out the new opener faster.
- Replacing one spring when the door has two. Torsion springs are rated for a specific number of cycles. If one fails and the other is the same age and same cycle count, the second is close behind. Replacing only the failed spring means paying for another service call within months. Replacing both at once costs more upfront but is the correct long-term decision.
- Ignoring an unbalanced door. If your door drifts upward or falls when you release it at the halfway point, the spring system is not tuned correctly, and every cycle is damaging the opener’s gear and motor. This is a “call before it gets worse” situation, not a “wait and see” situation.
- Working under a door supported by anything other than the proper tools. If you’re propping a garage door open with a 2×4, a ladder, or a cinder block while you work under it, stop. Doors are heavy, and improvised supports fail without warning. The correct equipment, locking pliers on the track or a professional lift, costs far less than the injury an improvised support can cause.
- Not documenting your system before calling for help. The single biggest source of wasted visits is a homeowner who can’t tell a professional what kind of springs, door, and opener they have. A few photos on your phone before the call saves everyone time and gets you an accurate quote faster.
When to Call a Professional
Call a professional if the job involves any spring work, any cable work, any track realignment, or any opener problem that persists after you’ve cleaned the sensors and checked the power. If the door is stuck open or stuck closed with the spring system loaded, do not attempt to force it. If you’ve already started a DIY repair and realized you’re in over your head, stop and call. We’d rather show up to halfway-finished DIY attempt than to a completed one that needs to be redone, because halfway is easier to correct. Torrance Garage Door Service home covers the full scope of repair, opener work, and installation. For opener-specific problems, our Garage Door Opener Repair in Santa Fe Springs page covers what that service line looks like. And if your door has reached the point where replacement makes more sense than another repair, see our Garage Door Installation in Santa Fe Springs guide. Torrance Garage Door Service offers free estimates in Torrance: call (855) 341-7719 and we’ll walk you through what’s happening with your door.
Frequently Asked Questions
A torsion spring replacement in Torrance generally costs between $280 and $450 for parts and labor, depending on spring quality, door weight, and cycle rating. The price is quoted and agreed before any work starts. Call (855) 341-7719 for an exact quote for your specific door.
You can, but the mechanical risk is severe, and the failure mode is a serious hand or arm injury. A torsion spring stores 100 to 250 foot-pounds of torque even when the door is closed, and one slipped winding bar can release that energy instantly. This is the one garage door task we consistently recommend against for DIY.
Lubricating rollers and hinges, tightening visible hardware, cleaning and aligning safety sensors, replacing weatherstripping, painting the door, and testing the balance manually are all safe DIY tasks. None of these require touching springs or cables under tension.
The most common causes are misaligned or dirty safety sensors, incorrect limit switch settings, or a force profile that needs recalibration after a spring change. Check the sensors first, and if the problem persists, the force profile on newer LiftMaster and Chamberlain models requires dealer-level tools to adjust.
It depends on the brand and the repair. Opening the motor housing on a Chamberlain or LiftMaster opener can void the warranty for internal components. Mechanical door warranties from companies like Clopay and Amarr generally cover parts but not damage caused by improper adjustment. If the door is under warranty, check the terms before you start.
Yes, if you focus on documentation and preparation. Photograph the system, run a balance test, record failure modes on video, and clear the work area. This reduces technician labor time and gets you a faster, more accurate diagnosis without exposing you to spring or cable risk. Call (855) 341-7719 and tell us what you’ve found, and we’ll take it from there.
The Bottom Line
The DIY vs. professional decision for garage doors isn’t about handiness. It’s about mechanical energy and electronics. Lubricating and tightening are DIY-appropriate. Spring and cable work are not, and no tutorial changes that. The cost argument for DIY spring replacement collapses when you account for the right tools, the realistic failure rate, and the downside risk of a serious injury. For Torrance homeowners, the smart move is to do the maintenance yourself, document your system before it fails, and call a specialist when the job involves stored energy or digital diagnostics. See our more guides & resources for additional help. That’s not a cop-out. It’s the same risk assessment a professional would make, because garage doors are all we do, and we know where the line is.
Written by the team at Torrance Garage Door Service, serving Torrance since 2013.
See the difference
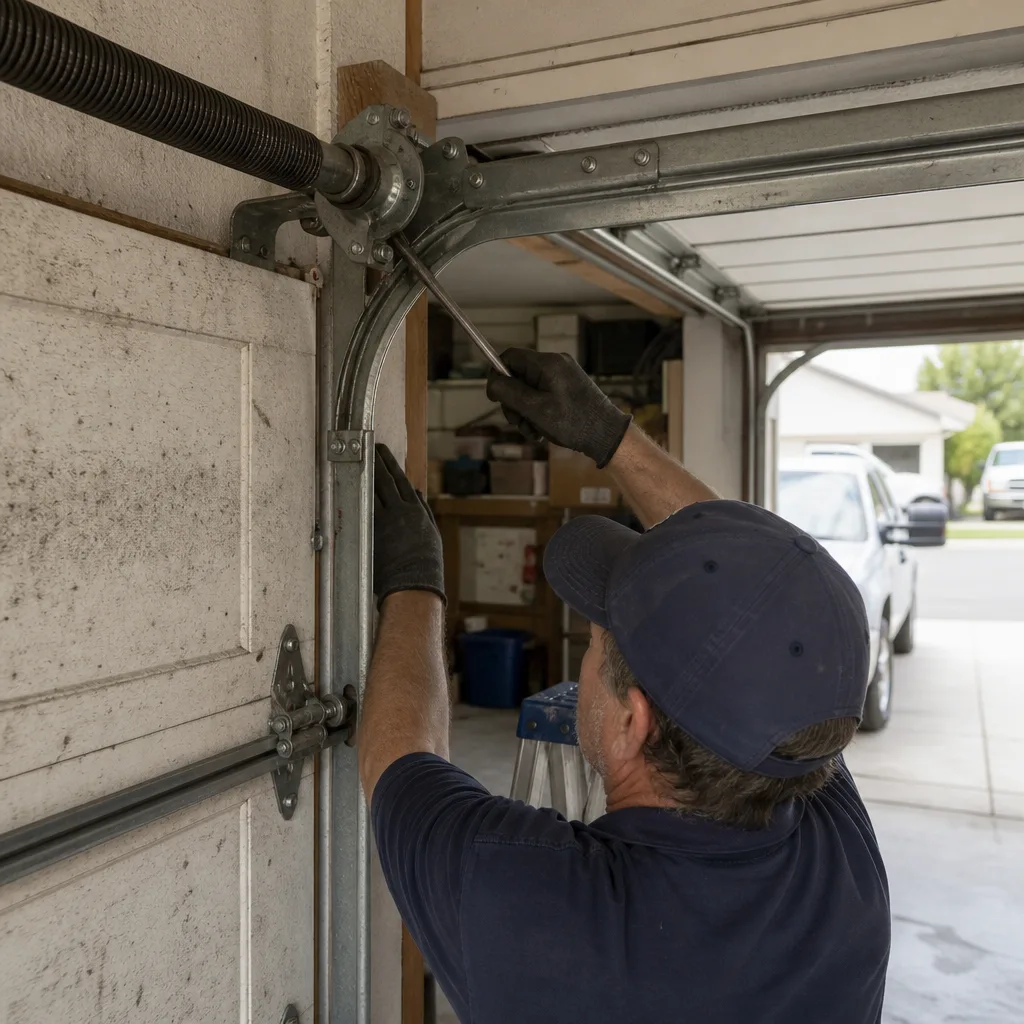 Before
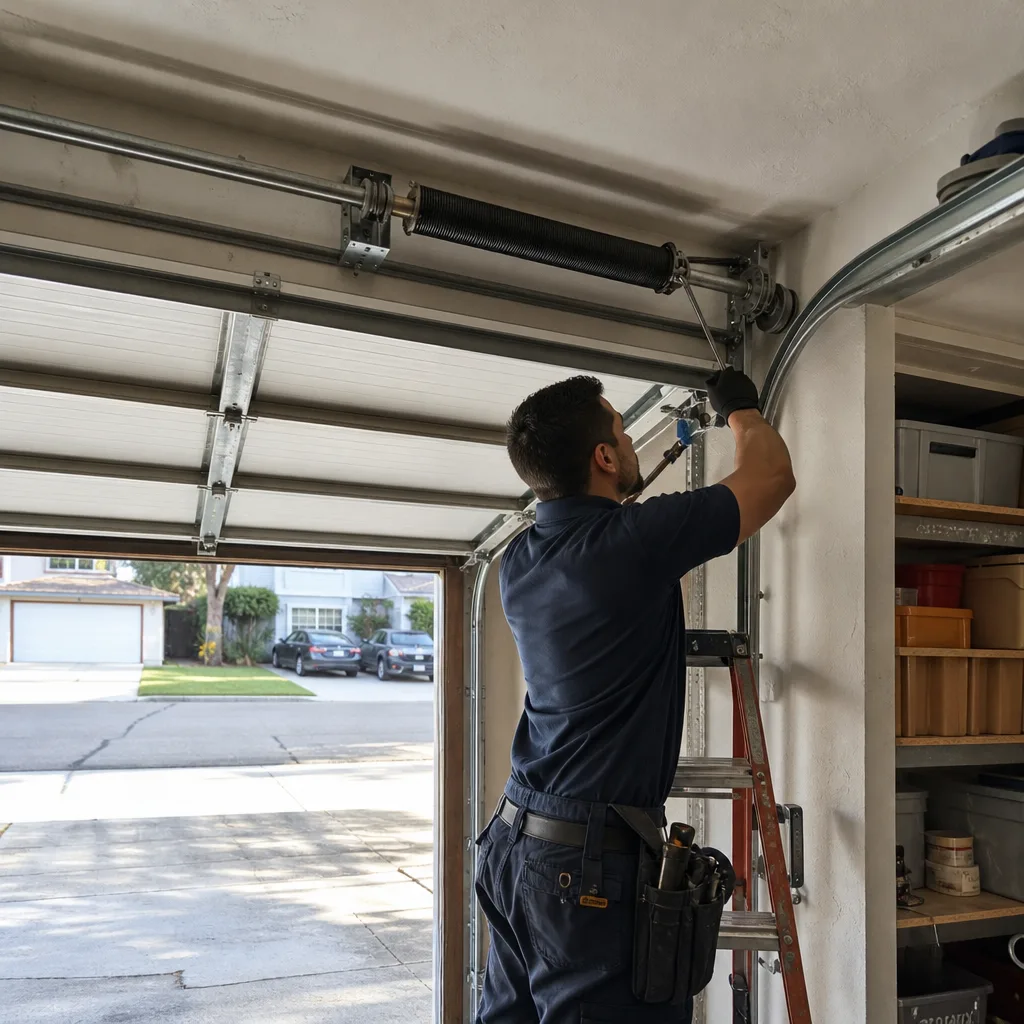 After
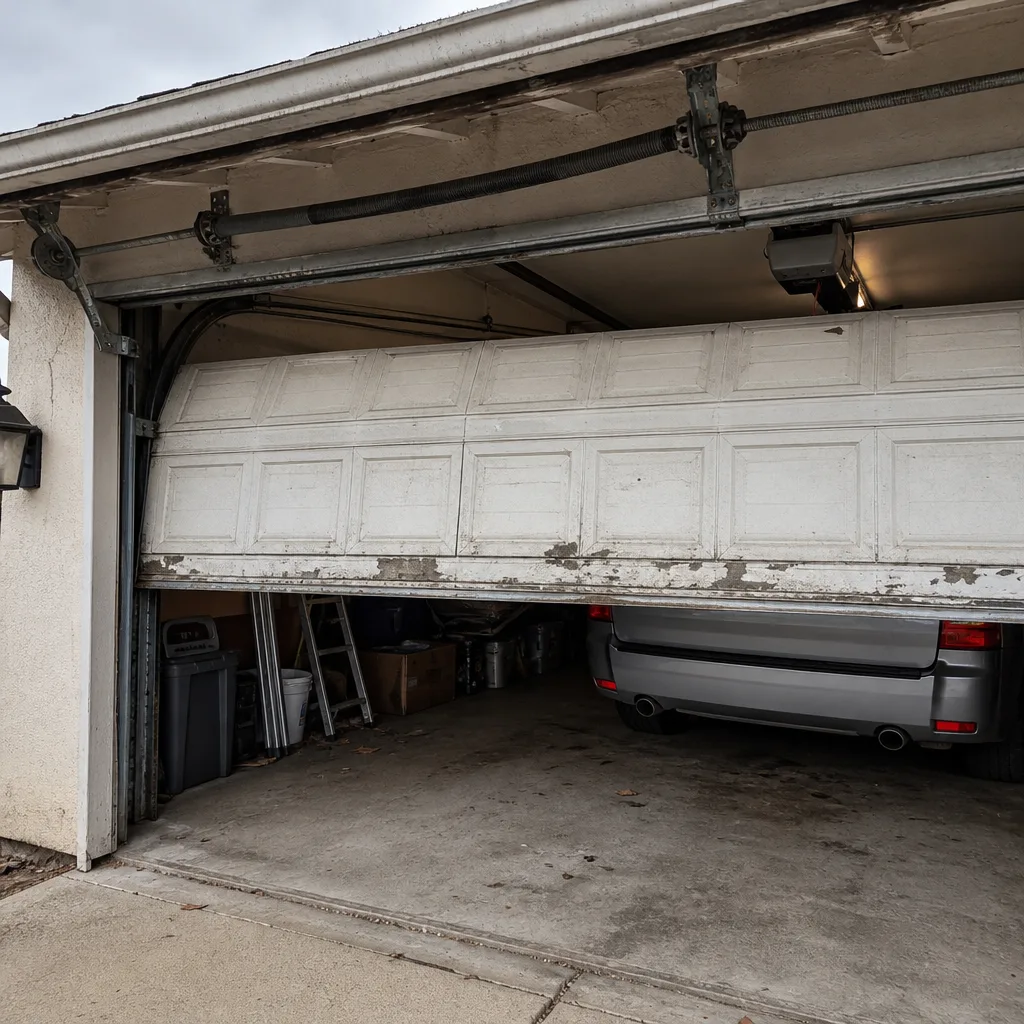 Before
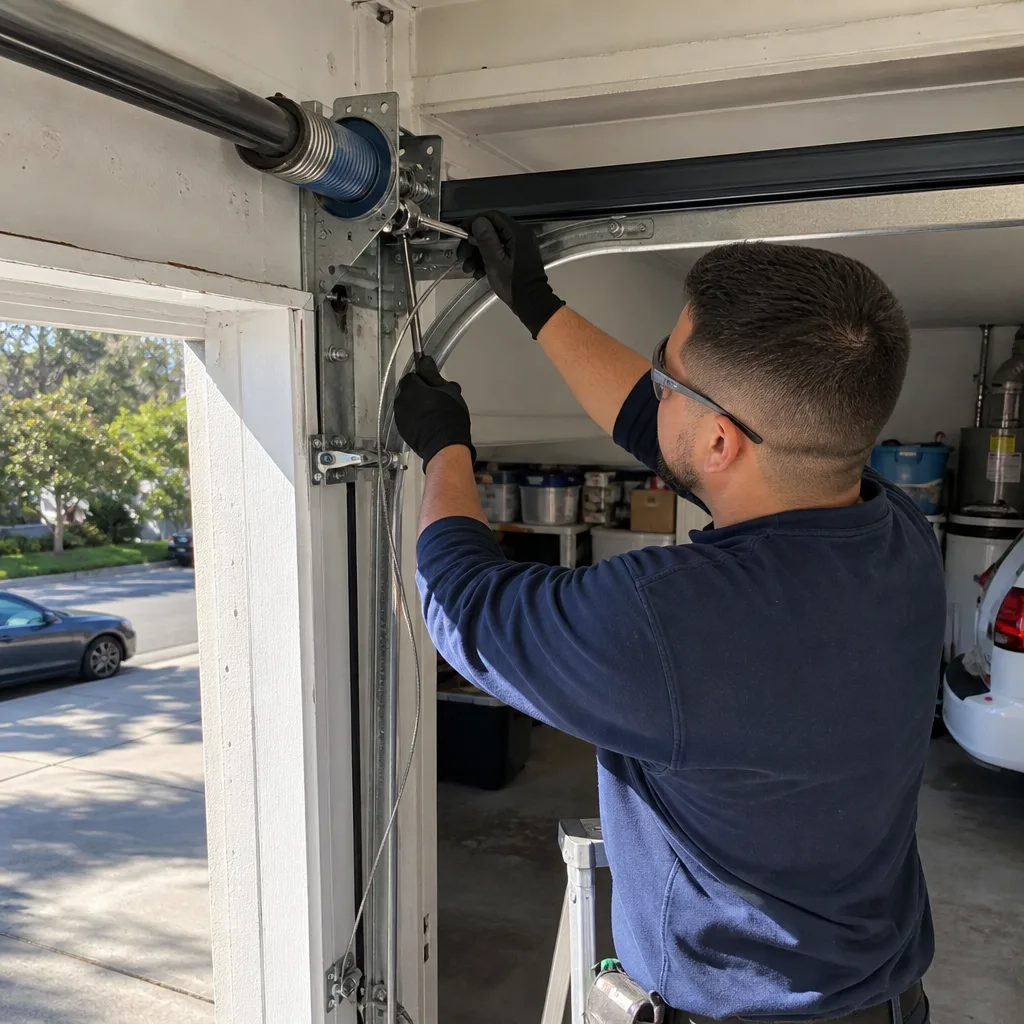 After
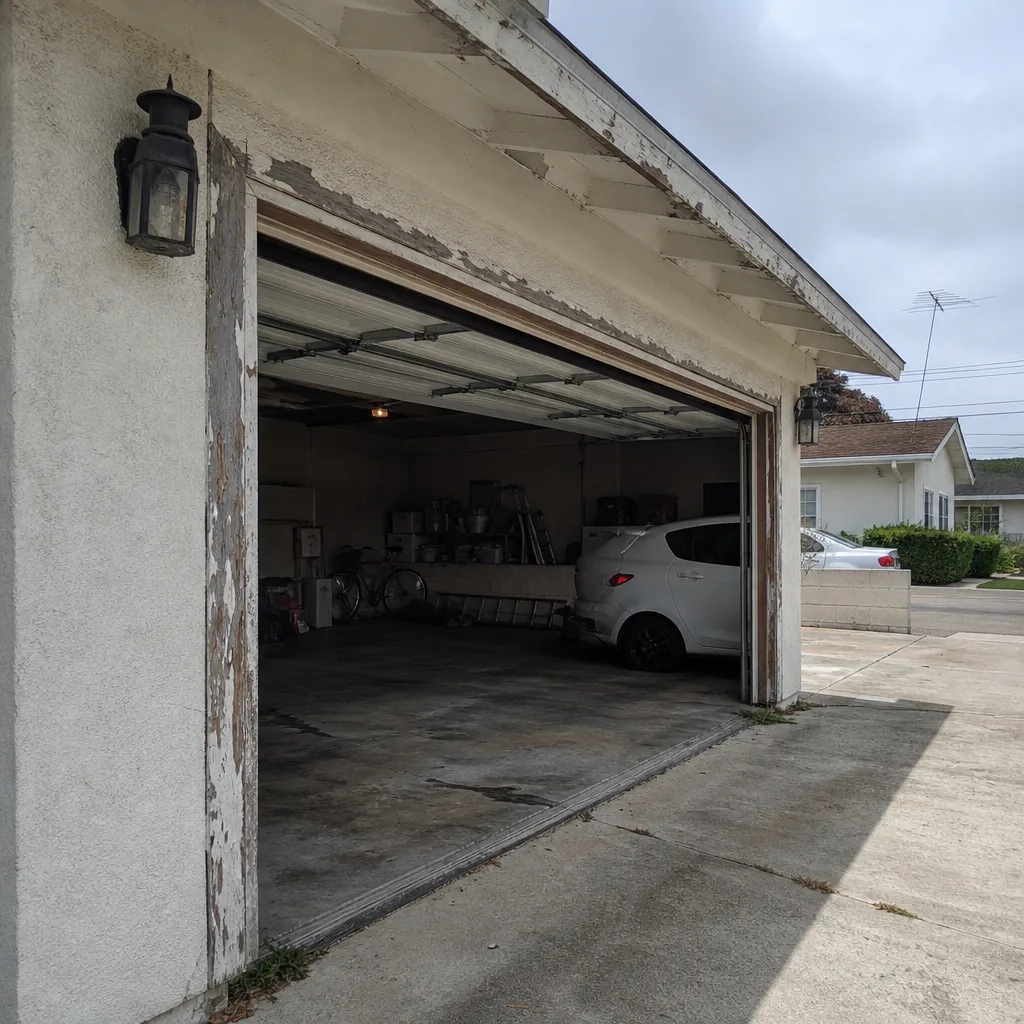 Before
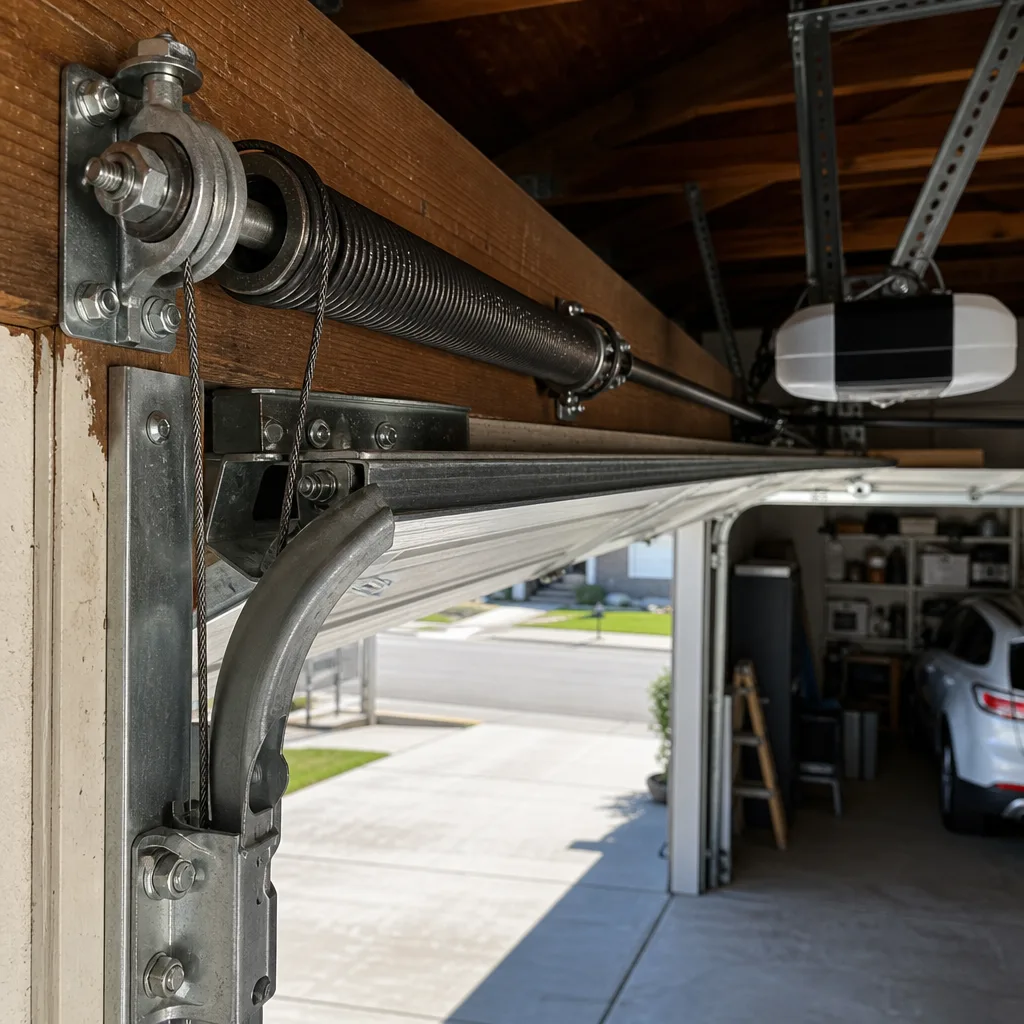 After